GCC (GNU Compiler Collection) is a widely used collection of compilers for various programming languages, including C, C++, Objective-C, Fortran, Ada, and others. It is usually available after mingw64 installation. If gcc is getting an error, there maybe something wrong with your mingw64 installation.
To check if you have GCC, open cmd and run gcc --version. If this command gives an error:
‘gcc’ is not recognized as an internal or external command, operable program or batch file.
The following maybe the issue:
- You haven’t installed MinGW C++ Compiler on your computer.
- The path to the compiler isn’t added to PATH in your environment variables.
- You have added the path but your bin folder is empty.
Let’s Troubleshoot this one by one:
Step 1) Uninstalled all the versions of GCC
To configure GCC correctly, it is best to start from scratch. Older, incorrectly installed versions might cause conflict. So for that go to your Control Panel and choose Uninstall or change a program. This is what it should look like:
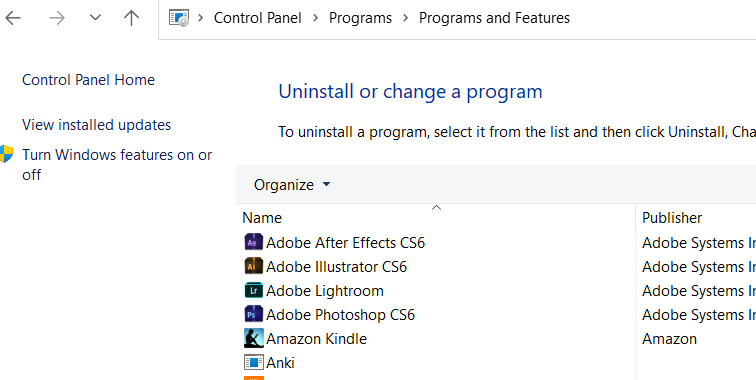
Go through the list and if you find Cygwin, MSYS2, mingw64 or mingw32. Uninstall them.
Step 2) Go to msys2.org and download the latest msys installer.
This should be a .exe file. Once downloaded run the installer. You should get this window.
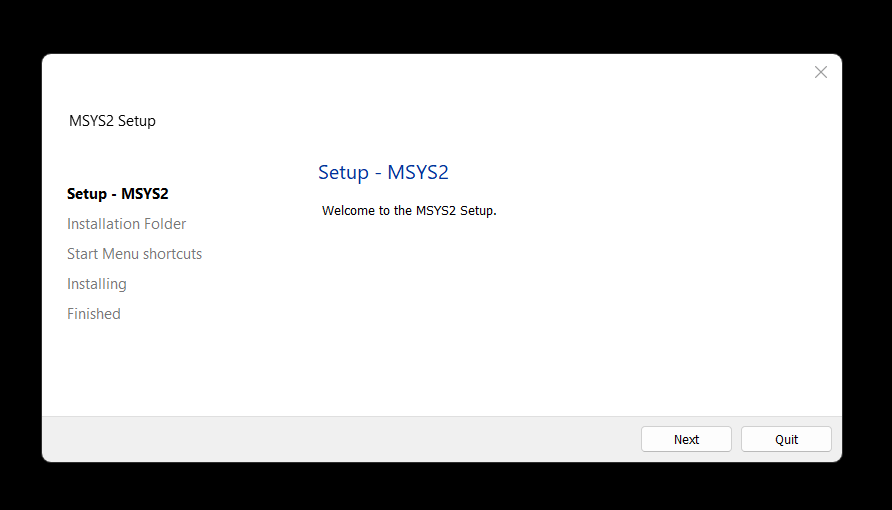
Click next. Make sure that the directory for installation is C:\mysys64.
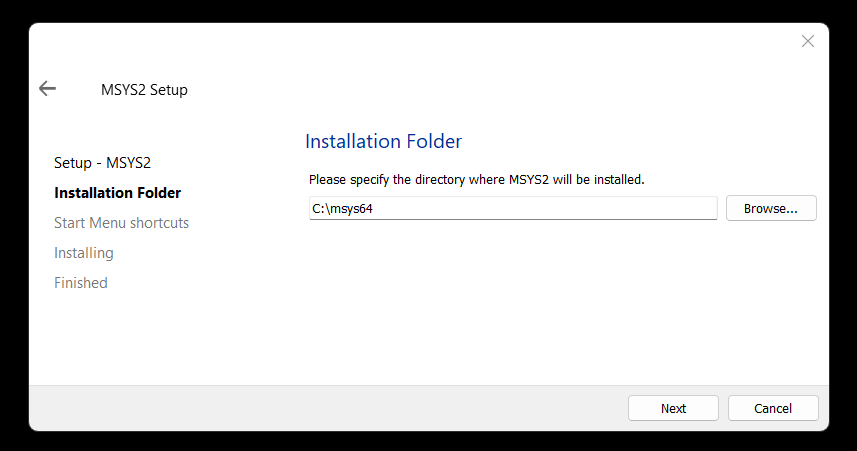
Click next and next again. The installation should start.
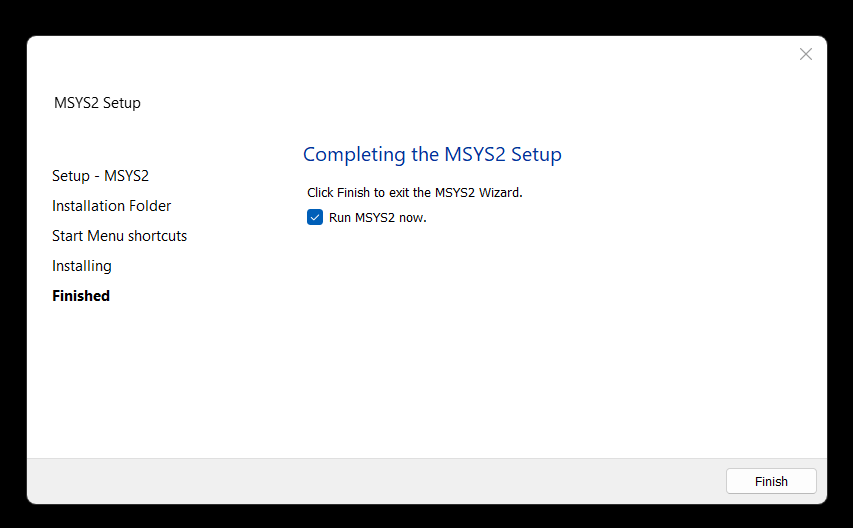
Step 4) After installation. Make sure the option to “Run msys now” is selected.
After the installation is finished, let’s run MSYS2 right away. For this, make sure the “Run msys now” option is selected in the finsh window of the MSYS2 installation. Like this:
Step 5) A terminal should launch.
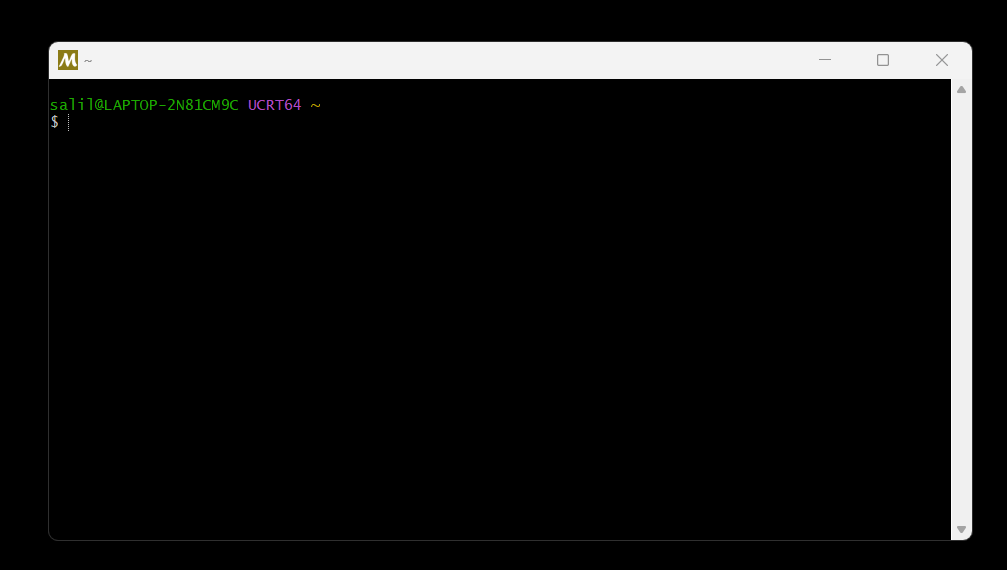
Step 6) To install mingw64, type the following command:
In the terminal, type and run:
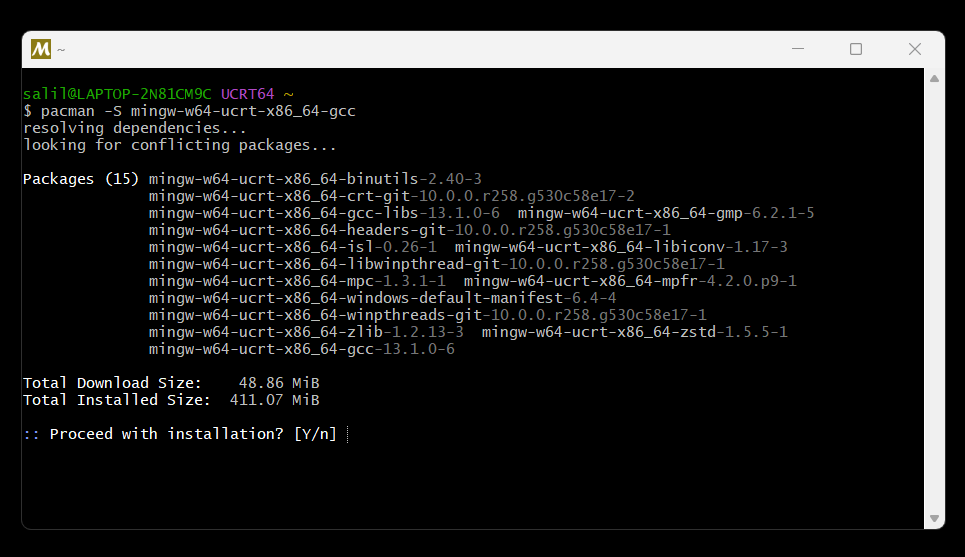
pacman -S mingw-w64-ucrt-x86_64-gcc
This should start the installation. You would be prompted to continue, type “Y” and press enter.
NOTE: After installation don’t close the window. You may need it to troubleshoot later.
Step 7) Check the location and contents of bin folder.
After installation is over, you should recheck the location of your mingw64‘s bin folder.
For this go to your C drive. There should be a MSYS64 folder, click on it. Find the mingw64 folder. Check the bin folder.
Step 8) Troubleshoot: mingw64 bin folder is empty (Skip if it is not)
If the bin folder is empty, run:
pacman -S --needed base-devel mingw-w64-x86_64-toolchain
You may be prompted a couple of time. Press enter or type Y. This is what it should look like:
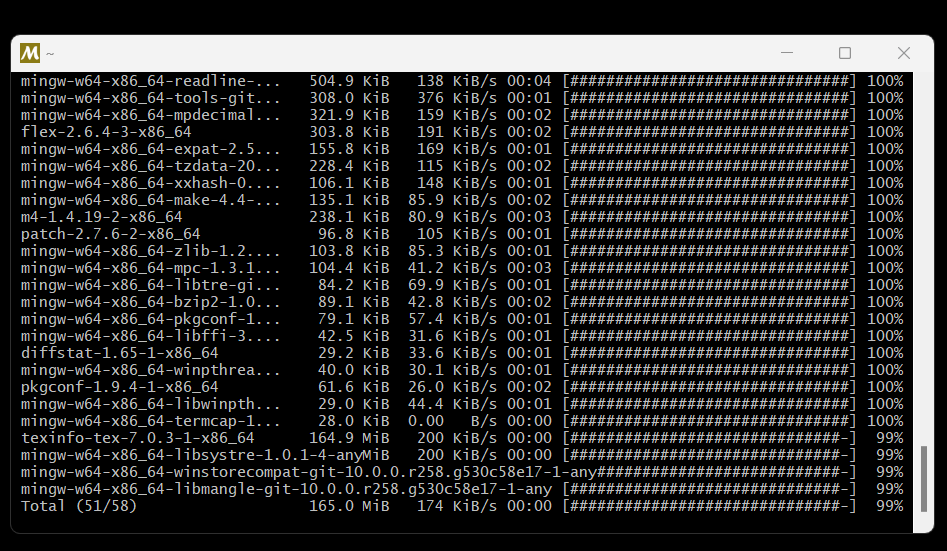
After this is completed, your mingw64‘s bin folder should have files.
Step 8) Add the path to your Mingw-w64 bin folder to the Windows PATH environment variable.
Even after installing the compiler and placing it in the correct folder, it is higly likely that your computer environment cannot find the MinGW compiler.
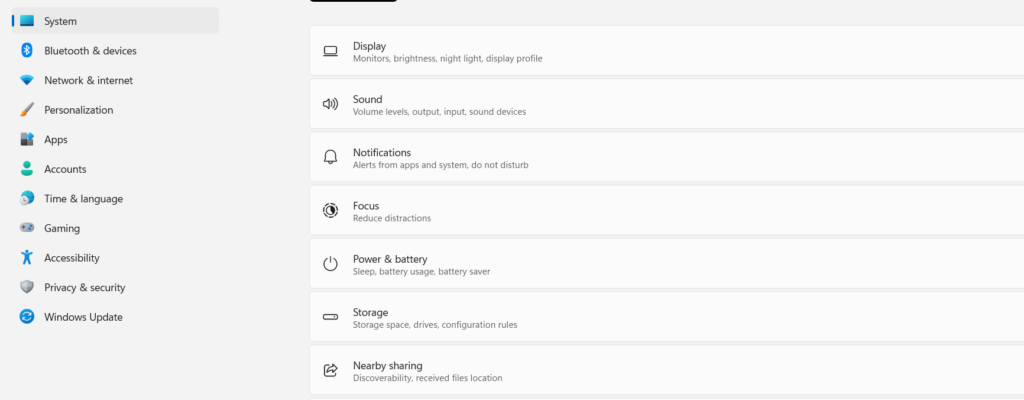
To change this type and choose settings in the Windows search bar.
A windows setting window should open.
Search for “Edit environment variables for your account”. Click on it. This should open a window like this:
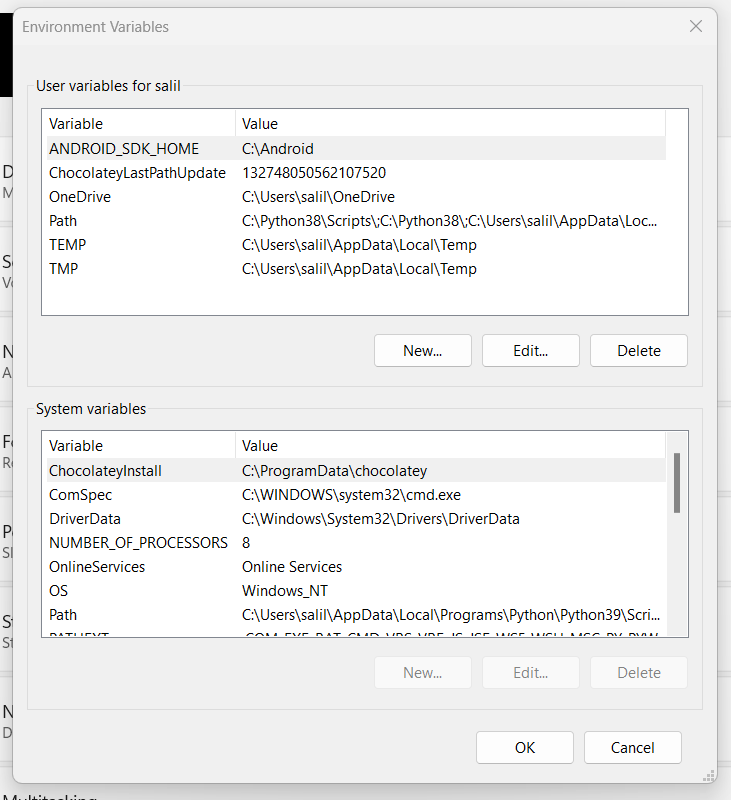
Navigate to the Path variable in your User variables and then select Edit.
Select New and add the Mingw-w64 destination folder path to the system path.
If you used the settings above to install Mingw-w64, then add this to the path:
C:\msys64\mingw64\binSelect OK to save the updated PATH.
Step 9) Restart your system and check
This should have succesfully installed and configured ming64 in your computer. To check restart your system. Open command prompt and check the following commands:
gcc --version
g++ --version
gdb --version
You should be able to successfully run these commands.
Happy coding!